
It's been quite some time since I paid this web space a visit, but that's because I've been busy with work (okay, not really), performing my duty as a gf (definitely), and baking! It's almost as if I've been bitten by a baking/cooking bug; I just can't stop making food. Which I suppose nobody is complaining, except that everyone's puzzled by my sudden obsession with this new found hobby.
In any case, I've decided to merry in the Mooncake Festival way too early this year, which started off with me browsing catalogues of mooncakes discounts in renowned hotels. One thing led to another, and I found myself surfing the web for mooncakes recipes. And then the rest is history, with me lugging home two bags full of ingredients and choosing an auspicious night to begin my journey.
 |
| "It tasted surprisingly like mooncakes sold in bakeries!" |
Yes, that's the most common response I got from people who tried the mooncakes. Well, I take that as a compliment!
I wanted to halve the recipe, because my family members are actually on a low-sugar diet (but nobody can tell, at the frequency i'm baking) and I don't think we can actually polish off 40 mooncakes (!), whether or not with external help. But being the usual scatterbrained me, I remembered to halve the weight of the flour, but forgot about the shortening. It was only when I started to knead in the shortening into the flour that I sensed something was wrong - it was too lumpy! With the damage done, all I could do was to pour the remaining flour into the mixing bowl and prep myself on a long arduous journey.
 |
| I chose red food colouring, to make girly mooncakes! |
It was indeed nothing but hard work. I actually got bored (read: very bored) at rolling the never ending dough meant to make 40 mini mooncakes, and not forgetting the thick and semi-oily white lotus paste as well! The worse thing was that I can't tell if they are successful - it's best served chilled for a few hours.
 |
| 20g of dough |
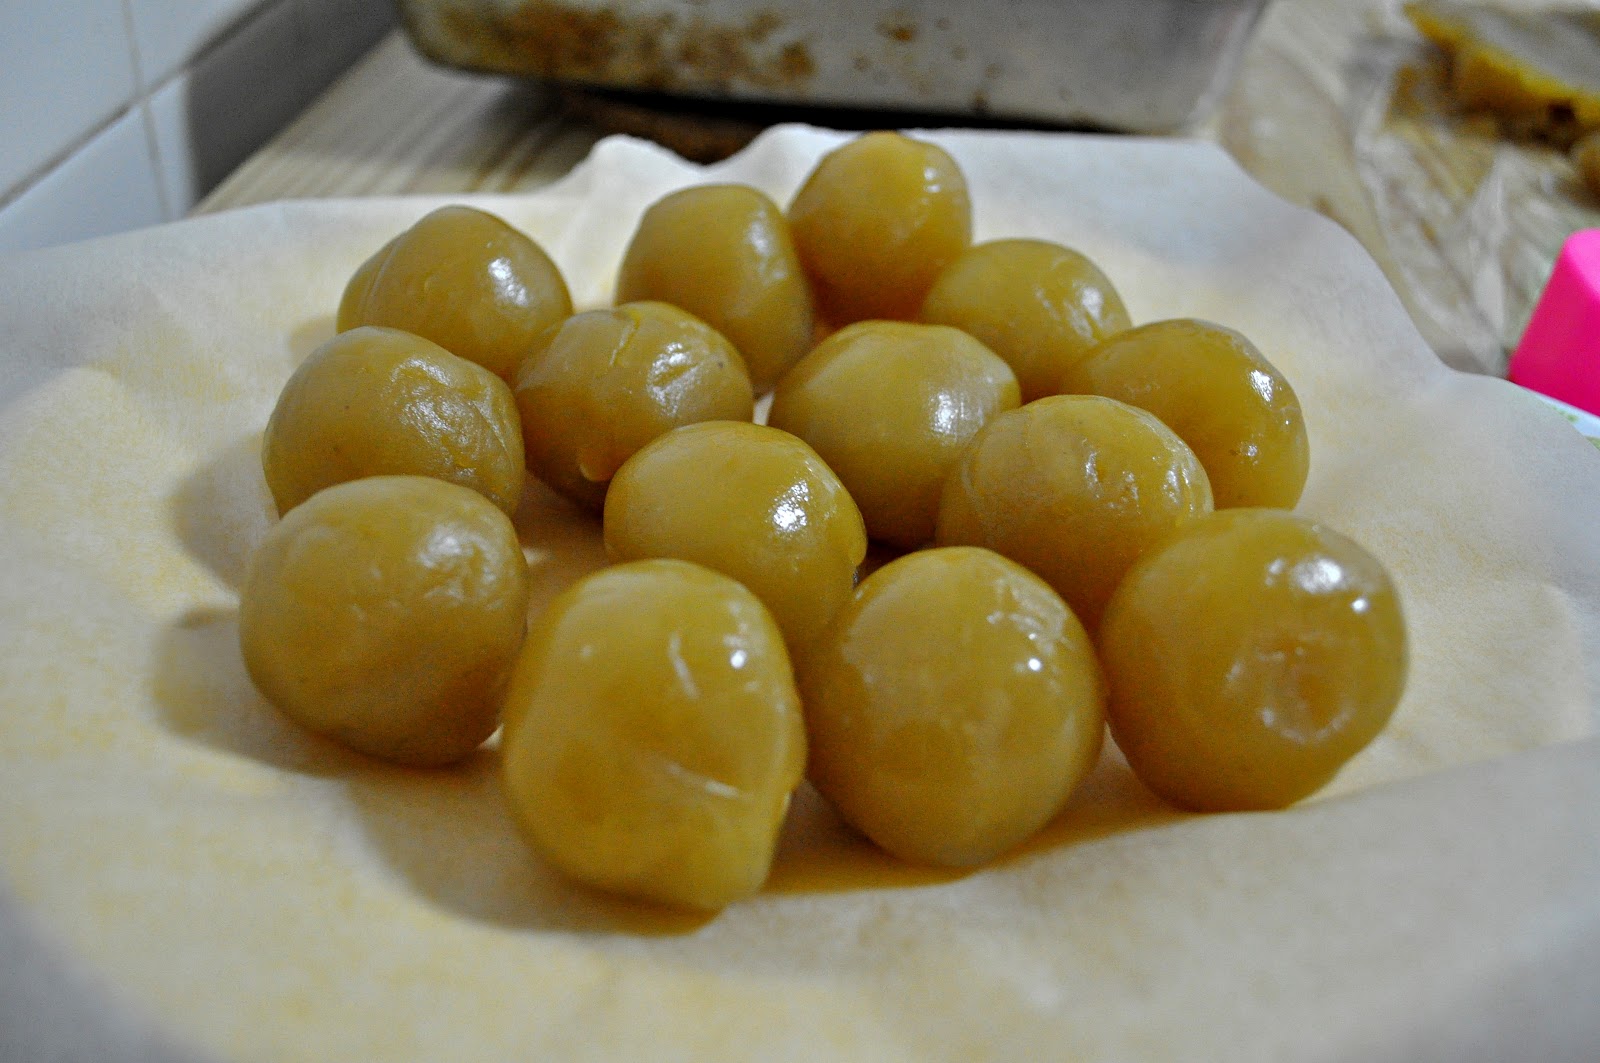 |
| 30g of lotus paste with melon seeds |
 |
| That neglected ugly duckling was my first product! |
And that marked the end of my first attempt at making snowskin mooncakes! Well, the challenge of making snowskin mooncakes definitely comes from the wrapping of the skin around the much heavier and bigger filling. Nevertheless, the end product was a success! It was a tad hard when i first took it out from the fridge, but after letting it sit for awhile at room temperature, the snowskin mooncake became soft, and indeed, it tastes like snowskin mooncakes! Now my bf is interested to make durian snowskin mooncakes!
White Lotus Snowskin Mooncake Recipe (original recipe from here)
Snow Skin Mooncake Recipe
(this recipe makes 40 mini Snow Skin Mooncakes)
For Snow Skin Dough
500g REDMAN Snow Skin Pre-Mix
200ml iced water
100g shortening
1 1/2 tsp banana essence
A few drops of food colouring (into the water, stop at a desirable colour)
For Mooncake paste
1kg White Lotus paste/Lotus paste/Green tea lotus paste
50g melon seeds, lightly toasted (optional)
Directions
1. Pour in the Snow Skin Pre-Mix into a large mixing bowl. Knead in shortening till an even mixture is formed and there are no more lumps.
2. Add in essence and colouring into the water but you may not need to use up all the water. Stop when you get nice soft dough.
3. Cover the mixing bowl with a wet cloth, making sure it does not touch the dough. Leave the dough aside to rest for 30-45 minutes in a cool, dry place, or place it in the fridge.
4. Toast the melon seeds for 10 mins at 180 degree C.
5. Fill the mould with the dough and knock it out. Weigh the amount of dough. For mine, it's 50g. Since the so called golden ratio of snowskin to filling is 2:3, divide the white lotus into portions of about 30g each. Knead each portion a little to form a ball.
6. Divide the rested dough into portions of about 20g each. Knead each portion a little to form a ball.
7. Flatten a snow skin dough on your palm to be a 2-inch circle. Place a ball of paste in the middle and slowly wrap it up using the snow skin dough to form a mooncake ball.
8. Lightly cover the mooncake ball with glutinous rice flour, before pushing it into the mould, making sure that the edges are pressed evenly into the mould.
9. Knock out the shaped mooncake from the mould by lightly knocking in all directions with one hand and using the other hand to catch the dislodged mooncake.
10. Immediately chill the mooncakes in an airtight container.
No comments:
Post a Comment